Sunday 20 September 2015

Batiste Dry Shampoo Review


Batiste Dry Shampoo Review


There's nothing I dislike more than greasy hair. That unclean feeling when it's midday and your hair already looks like an oil slick, even though you washed it just last night... Yuck. Some of us are unfortunate enough that we can't go more than one day between washes, especially those of us with thinner hair. Which is where dry shampoo comes in. If you've never used this stuff before: GET IT NOW! Trust me, it'll be the most used product in your arsenal, because nothing is better than a clean scalp.

There's a huge range of dry shampoo out there, but I've heard good things about Batiste. Not only are they actually effective, but look at that packaging! Yeah, product design is totally a good thing. I wouldn't mind keeping a couple of cans out on my bathroom counter because they just look so fun!

The product itself is a white powder sprayed out of a nozzle. It doesn't come out wet; on the contrary, it's more like talcum powder, and you'll probably get it all over your floor (so don't spray it over carpet, guys). You spray it onto the roots of your hair, massage it in and comb it out, and it soaks in the oil within seconds.


Batiste Dry Shampoo Review


I bought the Blush and Original from Priceline, where they were $9.99 for the 200 mL can and $15.95 for the 400 mL can (which is massive, by the way). Pretty pricey, I know, but if you manage to snag them during a sale like I did, you'll get a massive discount (one of the reasons I love Priceline - so many sales!). Batiste also has many other varieties, including tinted dry shampoo for brunettes, redheads and blondes - if you have dark hair, I definitely recommend getting the brunette version because the white powder can be a little hard to comb out if you spray too much.

Between Original and Blush, they are very much the same except in scent. To me, Blush smells more like artificial cherries than anything, and I find that it smells quite strong. Original is much more pleasant, and smells like a mix between citrus and fresh clothes.


Batiste Dry Shampoo Review


Here's a little comparison of my hair before and after spraying. My hair was super greasy... I didn't wash my hair for three days. The things I do for this blog.


Batiste Dry Shampoo Review


I went a bit overboard with the spray here, but considering how greasy my hair was, maybe it wasn't too much at all...


Batiste Dry Shampoo Review


Once it is rubbed in and combed out, you can see there's a huge difference. The only downside is that some of the powder is still visible, but that's vastly preferable to walking around with oily hair. That won't be a problem if you have lighter hair than I do.


Batiste Dry Shampoo Review


So what's the verdict? I love this product! Not only does it smell wonderful, it also mops up grease as easily as... as... polystyrene dissolving in toluene (couldn't think of a better example there). The biggest downside is the price, as it is one of the more expensive types of dry shampoo out there (but things in Australia are usually expensive more often than not); however, the amount you get in the 400 mL can is enough to last you over half a year. I'll definitely be buying again!


Batiste Dry Shampoo Review


What do you think of Batiste dry shampoo? Let me know in the comments!


Sunday 13 September 2015

No Yeast, No Butter Pizza


No Yeast No Butter Pizza


It's been a month since I've updated, but so much has happened. Mostly lots of labwork and assessments to go through, but more importantly, I (finally) got a camera! A Canon EOS 700D, to be exact. I admit I'm still a fledgling when it comes to handling a DSLR, but I'm very, very excited about all the possibilities. It's going to be a steep learning curve (with you as my guinea pigs) but it's a journey I can't wait to get started on!

On to the food. Yesterday, I had a sudden craving for pizza that not even Zeus himself could have resisted (although that guy doesn't seem to have much willpower anyway). At home, we no longer buy takeout pizza because more often than not, they are simply dripping with grease. Hmm, not so pleasant. I wanted to make my own pizza, but we had no yeast. Or butter. So I looked around the kitchen and decided to make do with what I already had: some baking soda, and lots of Greek yogurt (my mum's a big fan). To be honest, I don't think pizza dough really needs baking soda, but it does give it a little more fluffiness than if I didn't use it. So without further ado, here's a recipe for a no yeast, no butter pizza that'll melt in your mouth.

Ingredients (Serves 4)
- 3 cups plain flour
- 1 cup Greek yogurt
- 1 tablespoon baking soda
- 2 tablespoons olive oil
- 1/4 cup milk or water
- 1/3 teaspoon salt
- Toppings: cheese, tomato paste, ham, vegetables, etc.

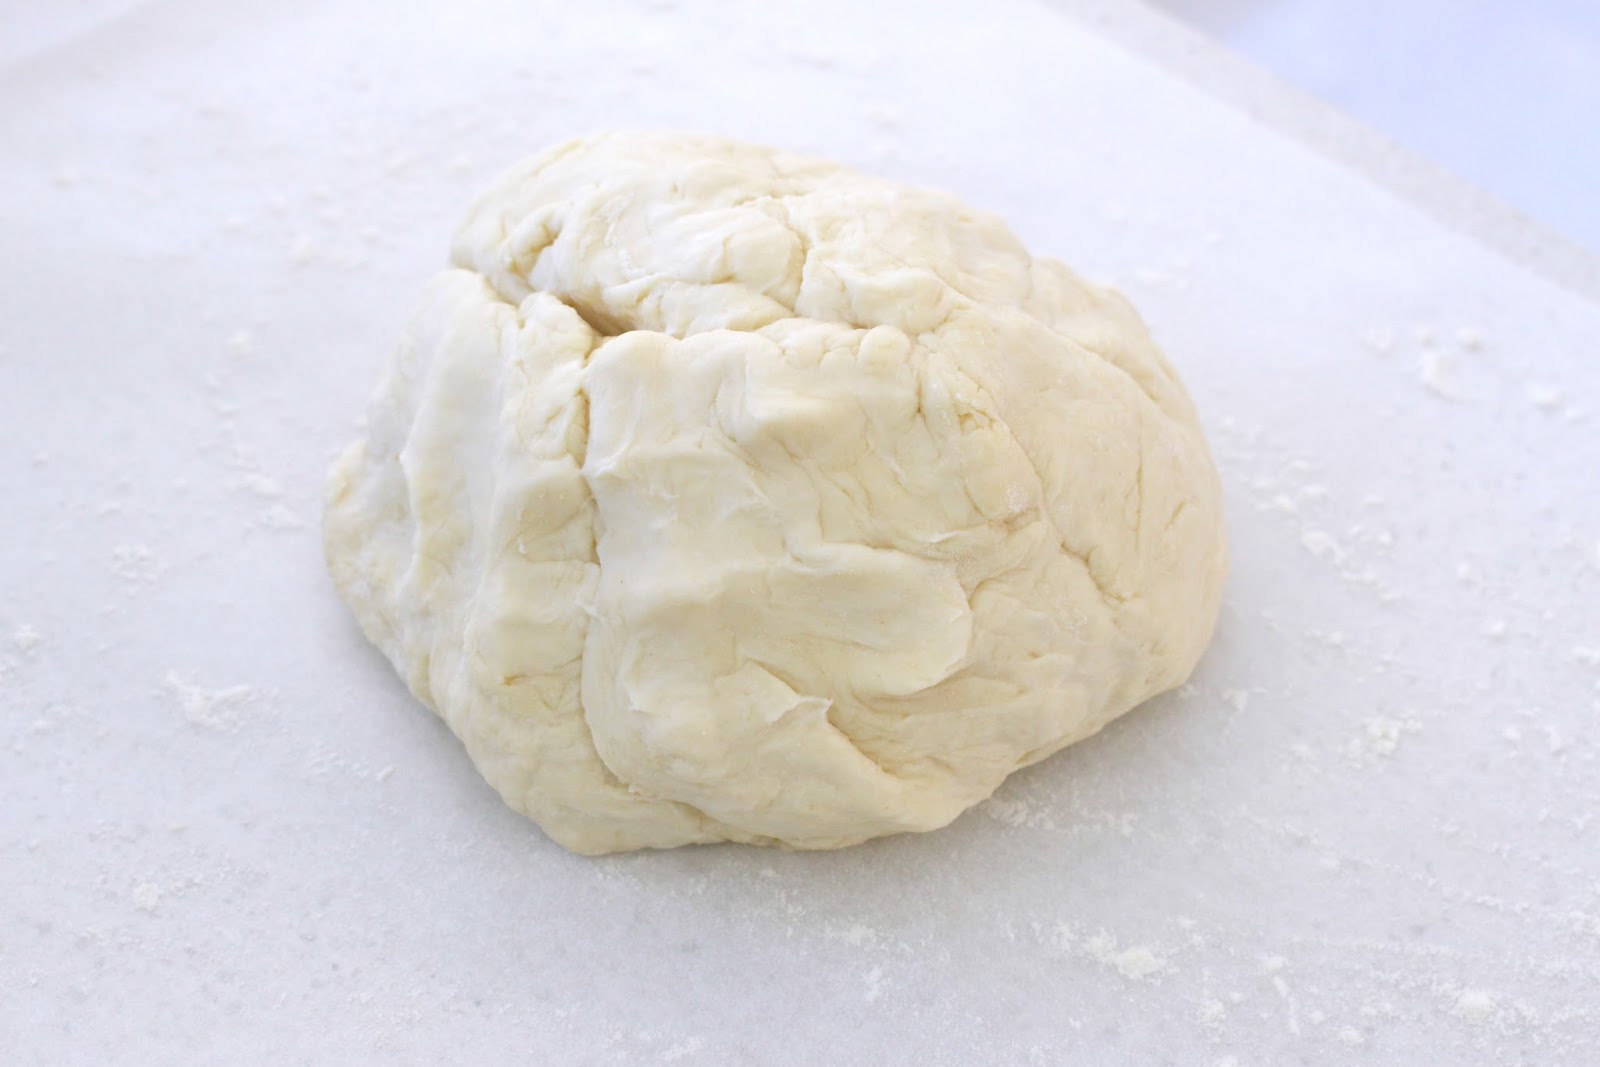
1. Preheat the oven to 180°C (360°F) fan-forced.  Mix the dry ingredients together and make a well in the middle, carefully pouring in the milk and oil. Add the Greek yogurt and mix evenly until the dough is slightly sticky and holds its shape. If it's too wet, add more flour.

2. Roll out the dough on floured baking paper until it is about 1 cm thick. You can also curl up the edges to give a thicker crust.

3. Prebake the crust for about 8 minutes, or until the surface is nicely golden. This is to stop it from getting soggy after the toppings have been added.

4. Take it out and let it cool. Turn your oven to 200°C (390°F) fan-forced. Spread your tomato paste, cheese and whatever else you want. I love basil, so I always sprinkle on a handful of leaves.

5. Bake again for about 10 minutes, until the cheese has melted and the vegetables have dried out slightly. You want to take it out immediately after it's done, because I've burnt a fair few pizza bases after turning off the oven and leaving them there while I cleaned up. Place it on a cooling rack or on top of a bowl to get air circulating around it.


No Yeast No Butter Pizza


Let me just say that my brothers loved it. But being brothers, I'm sure they'd eat anything I cook anyway. While the base is not as rich as it would be with butter, it's certainly a lot healthier without it, and the oil gives it a nice, light flavour. I might even prefer it to using butter. It sure satisfied my craving!

(Also, I think the bushel of fresh basil I bought looks really pretty. Here's a picture.)


No Yeast No Butter Pizza


Let me know what you think of the recipe!


Wednesday 12 August 2015

DIY Scarf to Kimono


DIY Scarf to Kimono

A couple of years ago, I received a gorgeous pashmina as a gift from a friend who had visited Vietnam. Unfortunately, I had no idea how to wear a pashmina - do I drape it over my head? Wrap it over my shoulders? Wear it like a towel around my body? This thing was bigger than any scarf I had ever owned, and I was truly stumped with ideas. Well, to the back of the closet you go!

This year, however, I began to see lots of kimonos around - and I absolutely love the trend! It's a nice change from all the snug fits we've had from past seasons, and can I just say I've got my summer outfits covered? Simply slip on a dress and a kimono and bam - you'll be the most stylish girl in town.

Here's a quick DIY (complete with terrible drawings!) on how to turn a scarf into a kimono. The only requirement is that your scarf is wide enough to span your body, and long enough to reach your hips. My scarf was extra long, and I wanted to keep the fringe intact, so I cut my sleeves from the top.


Instructions:

1. Fold your scarf in half lengthwise and lay it flat. Cut off the top section wide enough to loosely fit your arms.

2. Pin it together, try it on and decide where to cut. Cut along the dotted lines as shown in the diagram. On the body, cut in a straight line up the centre of the front layer only. This will be the opening for your kimono.

3. Sew it together, and hem any frayed edges.


Now go and enjoy your kimono!


Sunday 26 July 2015

Summer Wishlist


Summer Wishlist


                                             1 / 2 / 3 / 4 / 5 / 6

Yesterday was one of those days that seem to appear only once in a blue moon - a warm, cloudless day in the middle of winter with the scent of flowers in the air. There's still another 5 months to go before Sydney heats up again, but I'm already looking for the perfect companion to my summer dresses. I usually lean towards timeless, structured pieces, but a little whimsy in the fashion department never hurt anyone, right?

My classes start again tomorrow and boy, am I excited! The past month has whizzed by but I'm glad to have spent the coldest time of the year snuggled up in bed most of the time (and with no small amount of hot tea, either). I'm looking forward to starting my classes again and perhaps catching up with friends over coffee and dessert.

I've been loving the trend of wearing novelty bags. In fact, it might even inspire a DIY! What trends are you enjoying at the moment?